


HDDRIVER
How to partition your card using HDDRIVER
1. Get the HDDRIVER package from Uwe Seimet on a floppy.
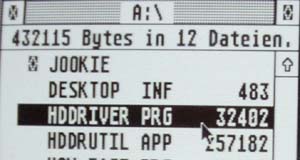
2. Turn on your UltraSatan and your ST with the ‘HDDRIVER’ floppy inserted. Open up the floppy (A:) from desktop and start the HDDRIVER.PRG – this will install the HDDRIVER, which is used by HDDRUTIL…
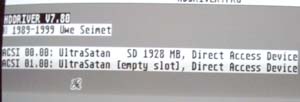
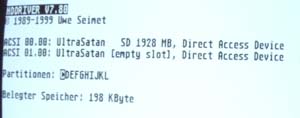
3. If everything is OK, the HDDRIVER should display all your connected ACSI devices. If you got one UltraSatan connected, it will appear as two ACSI devices (each card as single ACSI device).
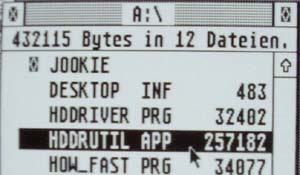
4. When the HDDRIVER returns to desktop, start the HDDRUTIL.PRG from the floppy. To start the HDDRUTIL in English language, hold down the ‘Alternate’ key on your keyboard, until the main menu of HDDRUTIL appears. If you won’t hold down the ‘Alternate’ key, the HDDRUTIL will start in German language.
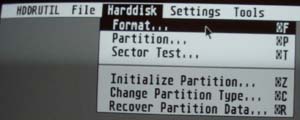
5. Now to format your card, select Harddisk and Format menu item.
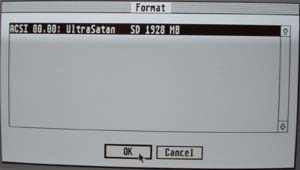
6. Select the ACSI device, which you want to format and press ‘OK’. Only the drives of UltraSatan with a card inserted will be shown.
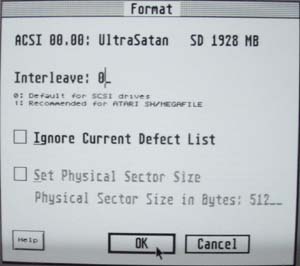
7. In the ‘Format’ window just press ‘OK’.
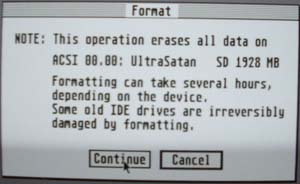
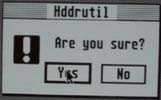
8. The following windows will appear, just press ‘Continue’ and ‘Yes’ buttons.
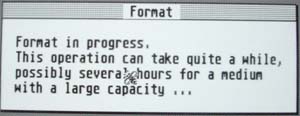
9. This format progress window will appear. It will disappear, when the card is formated.
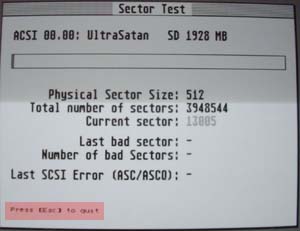
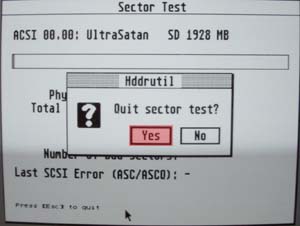
10. After the formatting the ‘Sector test’ window will appear. You might want to skip the long sector test by pressing the ‘Esc’ key. The ‘Quit sector test’ window will appear, just press ‘Yes’.
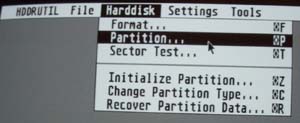
11. Now to partition your card, choose the ‘Harddisk’ and ‘Partition’ menu items.
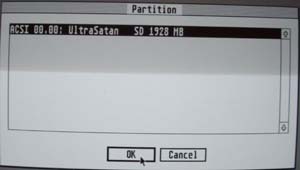
12. Select the device which you want to partition and press ‘OK’. Only the drives of UltraSatan with a card inserted will be shown.
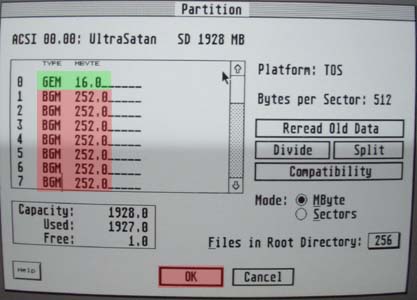
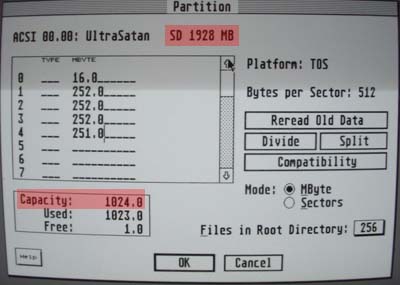
13. The ‘Partition’ window will appear. If you are using your card (or you plan using your card) on TOS of version 1.00/1.02 and/or version 1.04, you should check those two checkboxes. You could partition your card for DOS/Windows/TOS compatibility, but that’s a different story. When done, press ‘OK’.

14. Now you will have to decide how big your partitions should be. For older TOS (1.02 or 1.04) you should probably have your first booting partition smaller than (or equal to) 16MB, the other should be smaller than 256 MB. I don’t know if I’m correct about this, but it works for me ![]() You should figure this out for yourself. Just write the size of partitions in MB. You also might want to write the partition type (GEM, BGM, …) – if you won’t, the HDDRUTIL will try to guess what it should be.
You should figure this out for yourself. Just write the size of partitions in MB. You also might want to write the partition type (GEM, BGM, …) – if you won’t, the HDDRUTIL will try to guess what it should be.
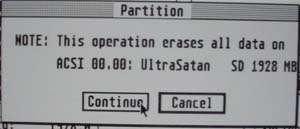
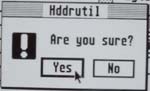
15. The following confirmation windows will appear, just press ‘Continue’ and ‘Yes’.
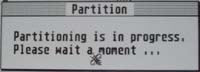
16. When partitioning is in progress, the following window will appear for a while. Don’t do anything (just wait).
17. After partitioning the following window will appear, press ‘OK’.
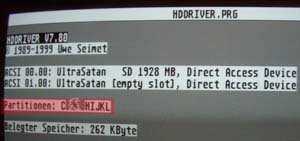
18. Now RESTART YOUR ST! This step is definitely required! Start the HDDRIVER.PRG from floppy, and it should show your new partitions.
19. When HDDRIVER returns to desktop, start the HDDRUTIL.PRG from your floppy. Again, hold down alternate for English language, or don’t hold it for German language.
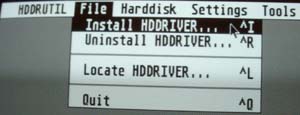
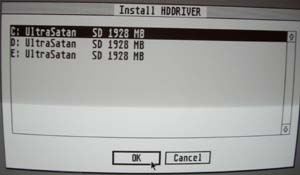
20. To make your cad bootable without a floppy, in the main menu select ‘File’ and ‘Install HDDRIVER’ menu items.
21. The ‘Install HDDRIVER’ window will appear which will give you choice to which partition you can install the driver. I think that it gives you only the partitions which are located under 1GB of your card to allow the driver boot without using the ICD extension of ACSI commands.
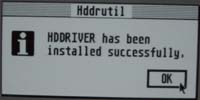
22. When the driver is installed, the following window will appear. Just press OK.
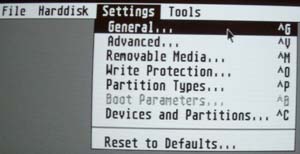
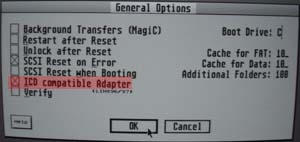
23. You will have to configure your HDDRIVER to make it work as you want. Select the ‘Settings’ and ‘General’ menu items. A ‘General Options’ window will appear, and you should definitely check the ‘ICD compatible Adapter’ checkbox – if you don’t, you won’t be able to access more than 1GB of your card.
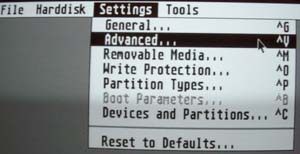
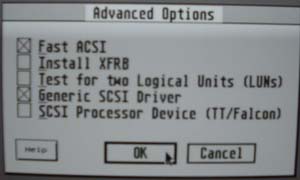
24. Click on the ‘Settings’ and ‘Advanced’ menu items. The ‘SCSI Processor device’ checkbox should be UNCHECKED (as seen on picture), other checkboxes are optional ![]()
25. Click on the ‘Settings’ and ‘Device and partitions’ menu items, and the following window fill appear. Make sure that all devices 0.x are checked (other might be checked too, but it doesn’t matter much, so they don’t have to). This will enable to use all ACSI devices (with IDs from 0 to 7) by HDDRIVER. Note that if you won’t have some ACSI ID (0.x) checked here and you will set that ACSI ID to your UltraSatan, the HDDRIVER will not ‘see’ the UltraSatan and you won’t be able to access it.

26. You can reset your ST now. The ST should boot from your card in UltraSatan and show all the present partitions.
What to do when HDDRUTIL reports bad capacity when partitioning?
You might hit the problem of badly reported capacity for cards bigger than 1GB. You can notice that in the ‘Partition’ window: the UltraSatan knows that the card has 1928 MB, but the HDDRIVER says that the capacity is only 1024 MB (this is the limit of the standard ACSI commands).
If this happens, in the HDDRUTIL click on the ‘Settings’ and ‘General’ menu items.

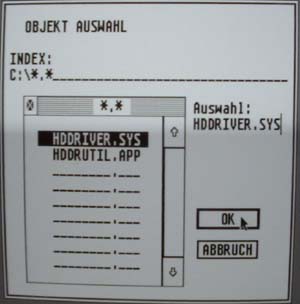
You might be asked where the HDDRIVER is located. This is because the configuration of HDDRIVER is stored directly in the HDDRIVER file. So, you might select the HDDRIVER.SYS from your boot partition of your card, or the HDDRIVER.PRG from the floppy. You should select one, and after the setting things up you should select the another to make sure that both have the good settings stored.
Now check the ‘ICD compatible Adapter’ checkbox and press the ‘OK’ button.

You might also set the other settings as recommended in the steps 24. to 25. above.
Now RESET your ST! This needs to be done to load the driver with new settings. After that the reported capacity should be OK.