


ICD Pro image
Intended audience:
In case you want to partition your SD card using the ICD Pro tools and install the ICD Pro driver without using a floppy by using just SD card, this simple guide is for you.
Note 1:
The image of my SD card with ICD Pro package was created from 14.9 MB (16 MB) SD card, but you can use any SD card which is bigger – by writing this image to your card it will appear partitioned to 1 partition, will be bootable (using ICD Pro driver) and will have the ICD Pro package on that partition (probably drive C on your ST).
Note 2:
To partition your card and install the ICD Pro driver on it you will need two cards – the first will be the one containing the ICD Pro package (created from this image) and the second card will be that which you want to partition and format – you can’t partition and format the card with the ICD Pro package (well, you could, but you won’t be able to finish this guide because you would loose the ICD Pro package that way). So you probably will follow this guide with UltraSatan, because it has two SD card slots.
1.
Download the image of my SD card which contains the ICD Pro package from here: sd_card_icdpro on your PC to some folder. (filesize: 502 kB (514 638 bytes))
2.
Extract the ‘sd_card_icdpro.img’ file from the dowloaded .zip file to some folder.
3.
Download the ‘USB Image Tool 1.31′ (or a newer version) from here: usb_image_tool_1.31 or from the internet (google for it).
4.
Extract the content of that .zip file to some folder, i.e. ‘USB Image Tool’.
5.
In order to use USB Image Tool 1.31 you need to have Microsoft .Net Framework 2.0 installed on your computer. If you don’t then google for it and download it (probably from MicroSoft web) and install it.
6.
Put your SD card (which you want to use for the ICD Pro package) in your card reader and connect the card reader to your PC.
7.
Open the folder where you extracted the USB Image Tool and run the ‘USB Image Tool.exe’ file.

8.
The ‘USB Image Tool’ window will appear and the left part of the window might be empty if your card doesn’t contain any Windows compatible partitions.
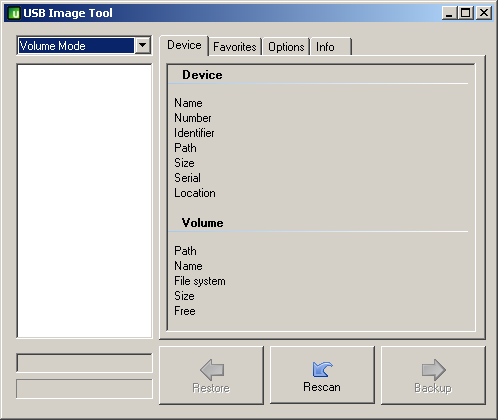
9.
Now select the ‘Device mode’ in the pull down menu.
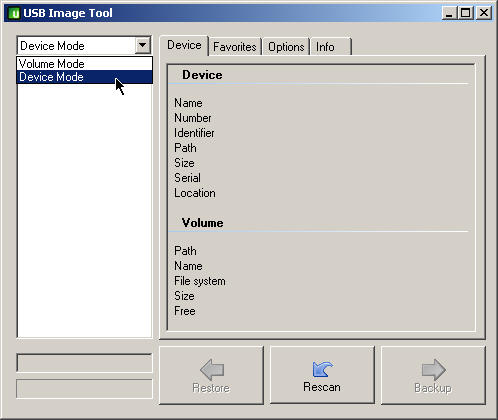
10.
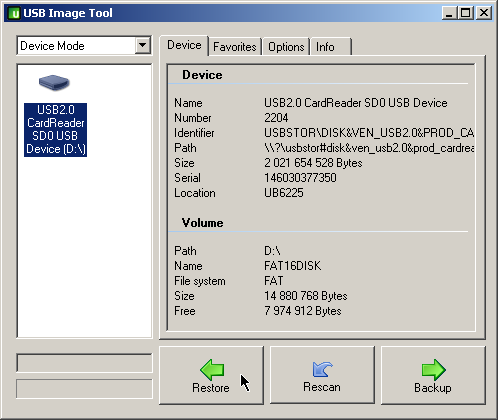
Your card reader / card will appear in the left part of the window. Select that icon using mouse. Be sure that you have selected the right media as trying to restore the image to wrong device (other USB flash key, hard-drive connected via USB, …) will cause the data loss on that device. I don’t and won’t take any responsibility for your destroyed data!

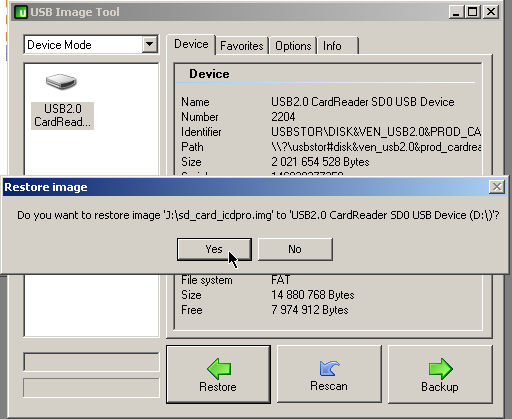
11.
Press the ‘Restore’ button.
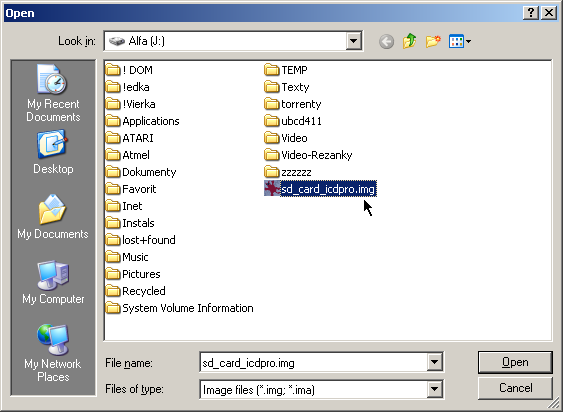
12.
Select the SD card image which you downloaded from this site and which you extracted to some folder.
13.
Press the ‘Yes’ button to proceed with writing that image to selected device.
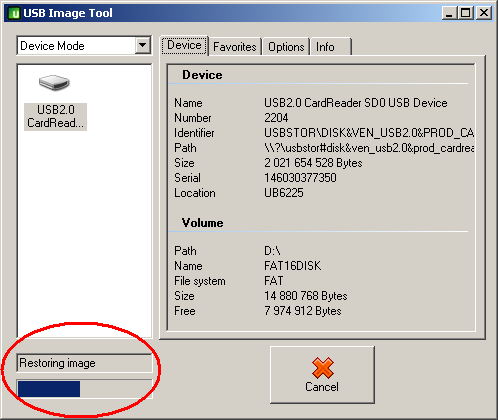
14.
Please note the running progress in the bottom left corner of the window. It should take only few seconds because it will be writing only 14 MB to the card.
15.
When the restoring of the image finished, close the ‘USB image tool’ application.
16.
Don’t forget to safely remove your card reader / card from the system.
![]()
17.
Disconnect your card reader from your PC, remove the SD card and put it in your Atari device (i.e. UltraSatan) in slot 2 and put the empty card (the one which you intend to format and partition) in the slot 1. Reboot your ST and it should boot from the card with ICD Pro driver.
Then follow the ICD Pro installation guide here.