


ICD Pro
How to partition your card using ICD Pro
(in 22 easy steps ![]() )
)
Don’t have a floppy with ICD Pro package and you would rather install the ICD Pro using another SD card?
Then follow this guide first!
Having trouble with partitioning using ICD Pro like no partitions after restart?
Read this short troubleshooting guide.
1. Download the ‘ICD Pro’ package here: icdp655a, and extract the content of the zip file on a floppy.
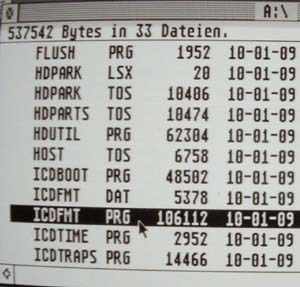
2. Turn on your UltraSatan and your ST with the ‘ICD Pro’ floppy inserted. Open up the floppy (A:) from desktop and start the ICDFMT.PRG.
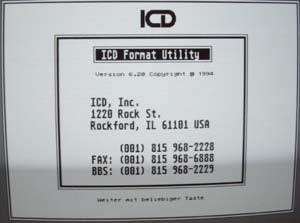
3. You will see the following screen, just press anything to skip it.
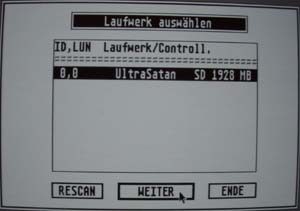
4. Now it should look for the connected devices, and it should find all UltraSatan devices with inserted cards (I had only 1 card inserted, thus it found only 1 usable ACSI device).
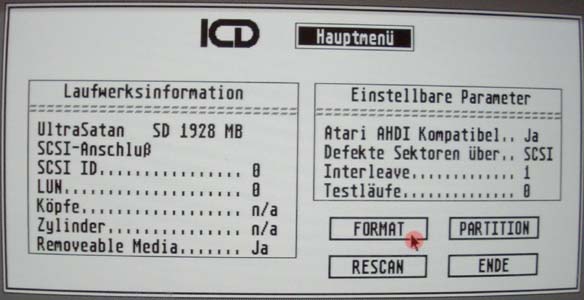
5. Before formatting the card change the number of sector tests (Testlaufe) to 0 to avoid the long testing of sectors. Click on the number ’1′ with your left mouse button.
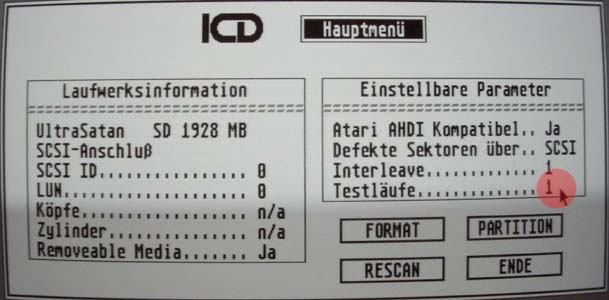
6. In the following window change the 1 to 0 and press OK to change the number of sector tests.

7. Now you are ready to start the card formatting. Just press the ‘Format’ button.
8. This window says that all your data from the device will be erased and asks you if you really want to continue. Answer with ‘JA’ (YES).

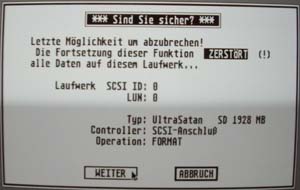
9. This is a ‘Are you really sure???’ window, press the ‘WEITER’ (continue) button.
10. After the short formatting of card this window will appear. Now you will have to decide how big your partitions should be. For older TOS (1.02 or 1.04) you should probably have your first booting partition smaller than (or equal to) 16MB, the other should be smaller than 256 MB. I don’t know if I’m correct about this, but it works for me ![]() You should figure this out for yourself. Just write the size of partitions in MB and when you’re done, press the ‘FESTPLATTE PARTITIONIEREN’ button (partition your drive).
You should figure this out for yourself. Just write the size of partitions in MB and when you’re done, press the ‘FESTPLATTE PARTITIONIEREN’ button (partition your drive).

11. For a while you will see this window which notifies you of writing the new FAT tables.

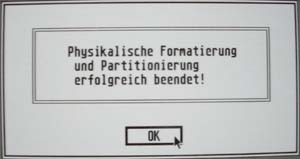
12. After partitioning this window will appear, press OK.
13. This dialog asks you if you want to print (on a printer) your partition configuration. Press ‘ABRUCH’ (cancel).

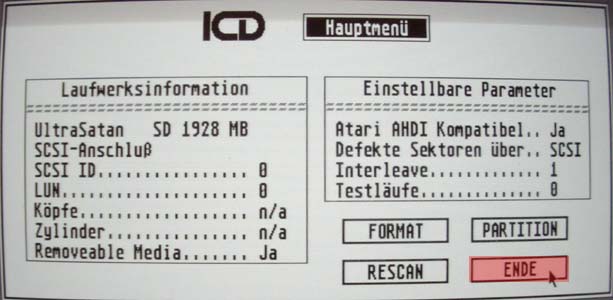
14. You will end up in the main window, press ‘ENDE’ to quit the program.
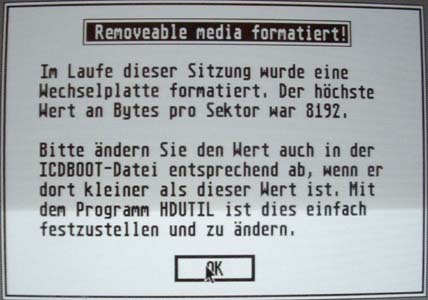
15. This notification message will appear which says that you should set the maximum sector size to 8192 Bytes. I don’t know where you should set it, so just press ‘OK’ ![]() When you will find out, then let me know.
When you will find out, then let me know.
16. The new partitions will be available after reset. So to reset your ST just press ‘OK’. Your ST will load the ‘ICDBOOT.PRG’ from the inserted floppy and will show the partitions on your card, but to make your card bootable without the floppy continue with the next step.

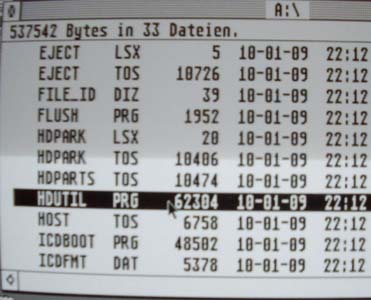
17. After reset you will end up in your desktop. Open the floppy with your ‘ICD PRO’ package and start the ‘HDUTIL.PRG’ from it.
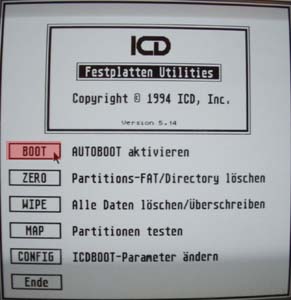
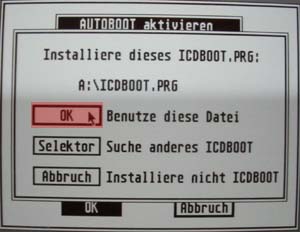
18. After the application has loaded, the following window will appear. Press the ‘BOOT’ button to install the hard disk driver on your card (to make it bootable without floppy).
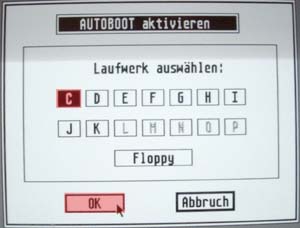
19. Select the partition, which should store the hard disk driver (I would choose ‘C’) and press the ‘OK’ button.
20. The following window will appear and it says, that it will store the driver from your floppy on your hard drive. Just press the ‘OK’ button.
21. You will return in the main window, press the ‘Ende’ button to quit the application.

22. You can reset your ST and it should boot from the partitioned card. You should see similar partitions like on the picture…
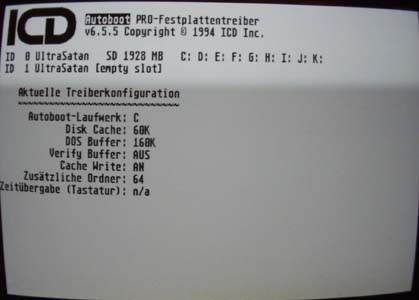
Download the ICD PRO - icdp655a